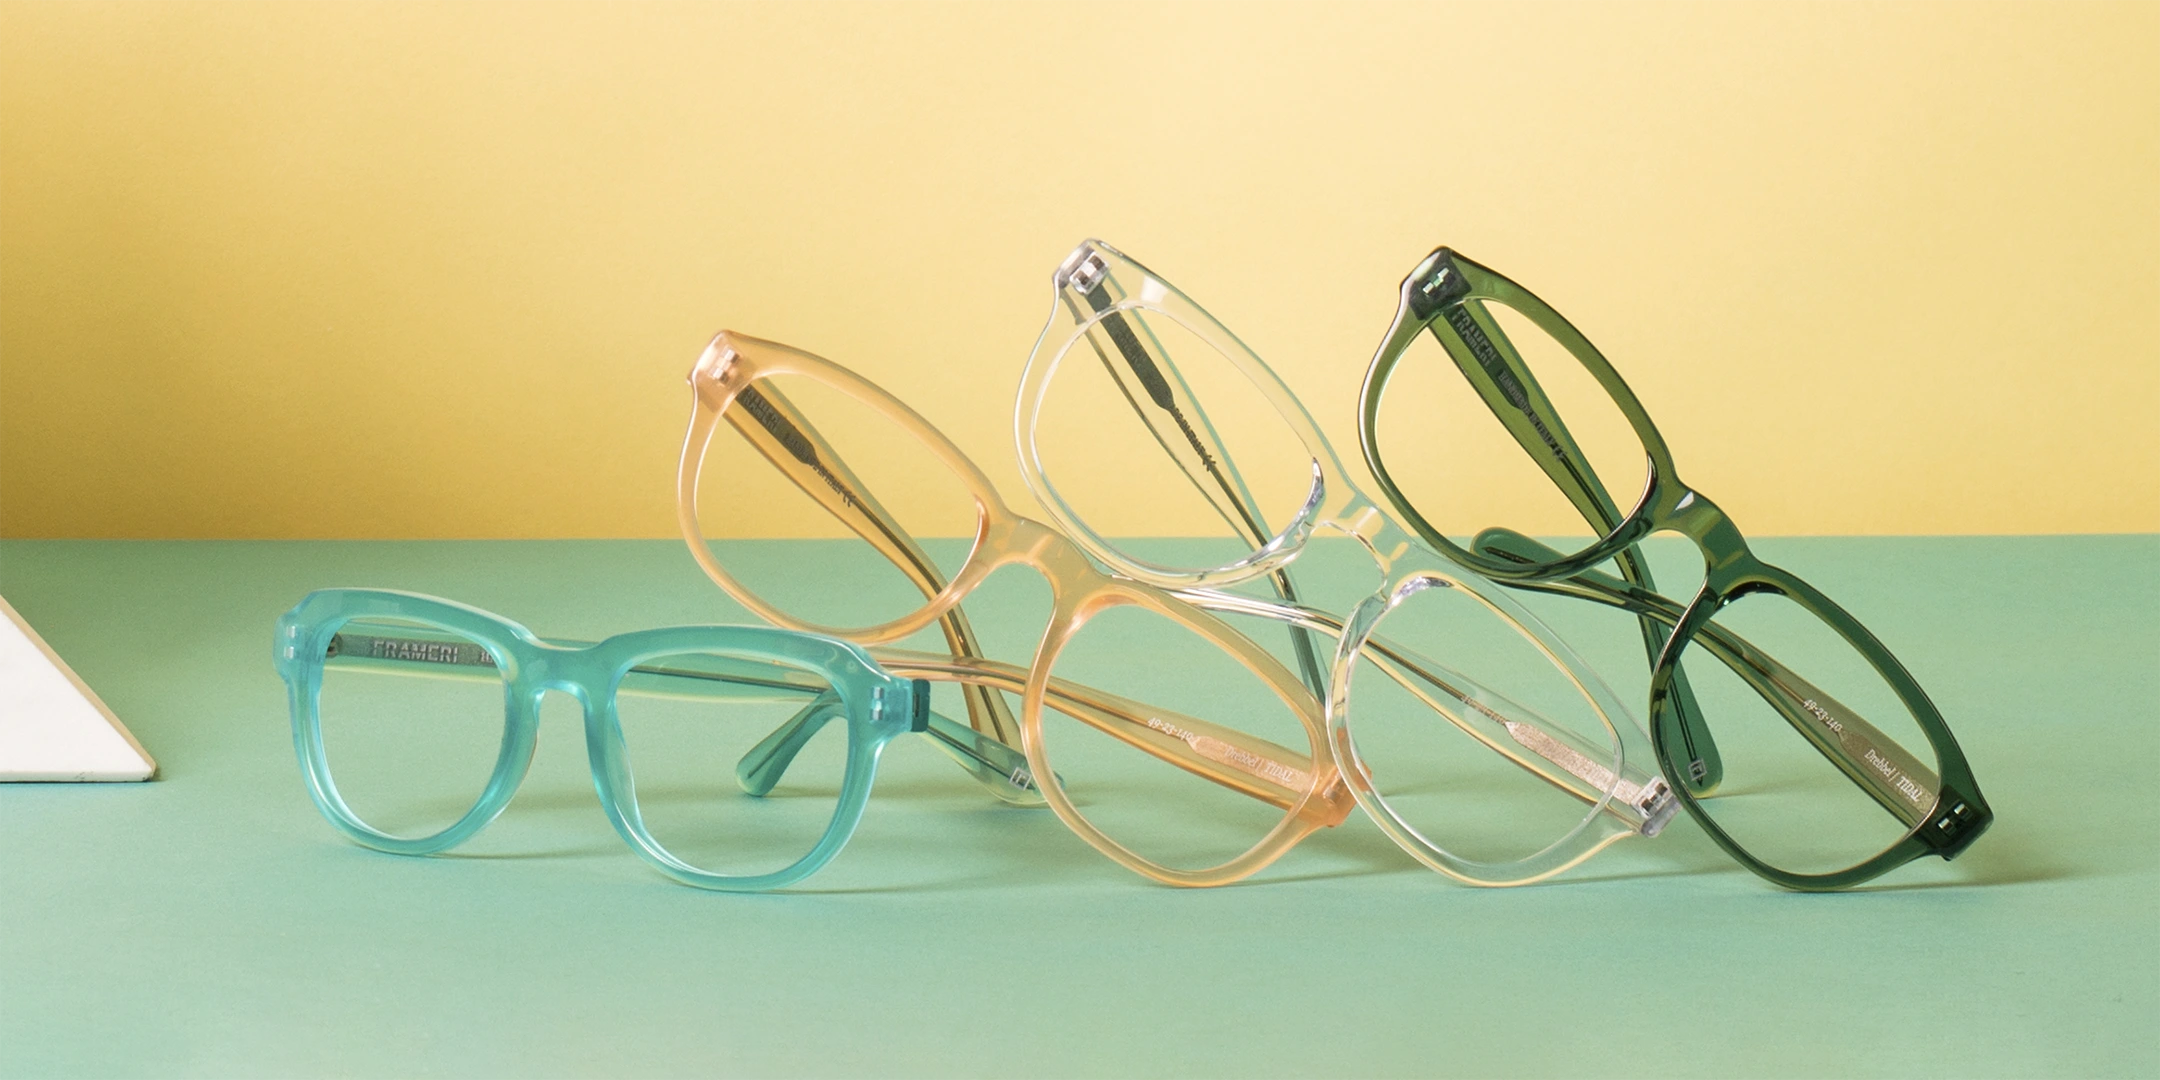
Frameri Eyewear had a bold idea that needed to be visualized, designed, and manufactured.
This Cincinnati-based startup wanted to shake up the eyewear industry with an interchangeable lens and frame system. Noel Gauthier, a brilliant designer, and I tackled real needs from figuring out the mechanism to designing frames, packaging, and more.
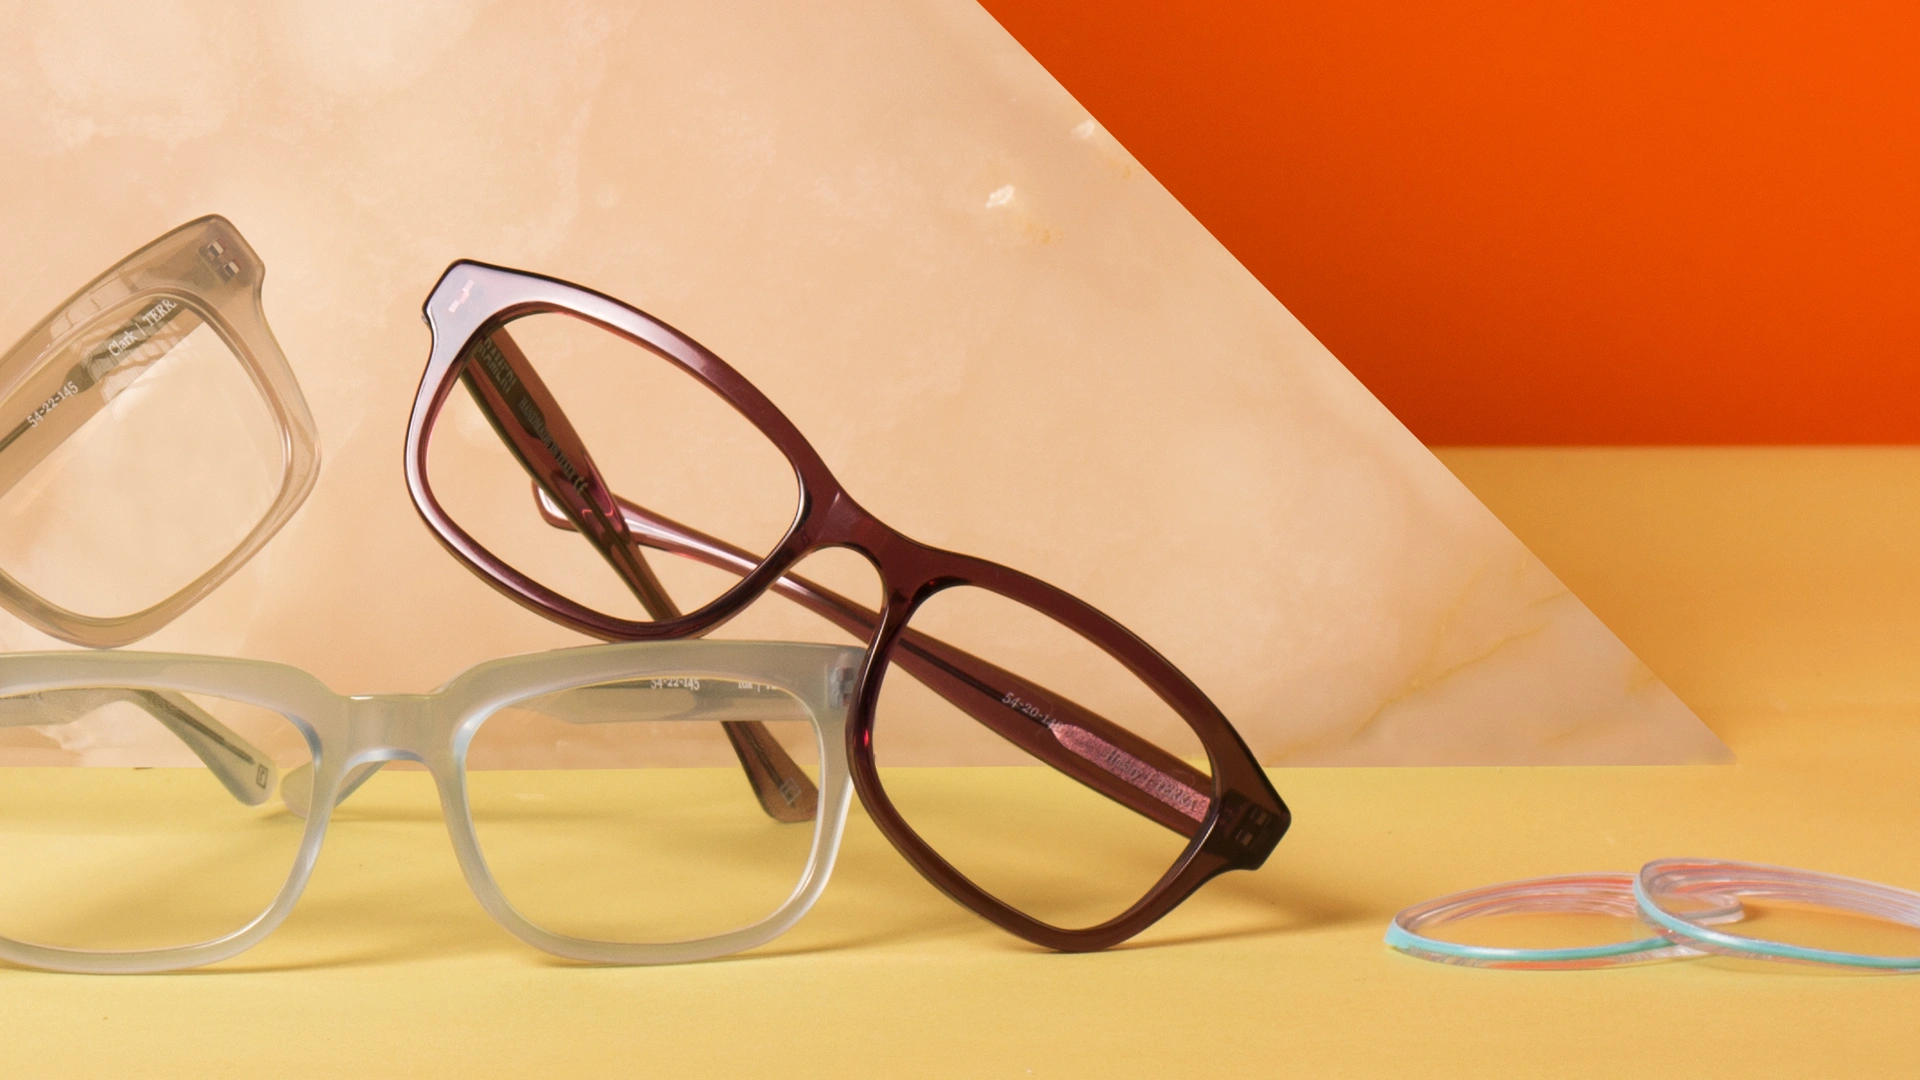
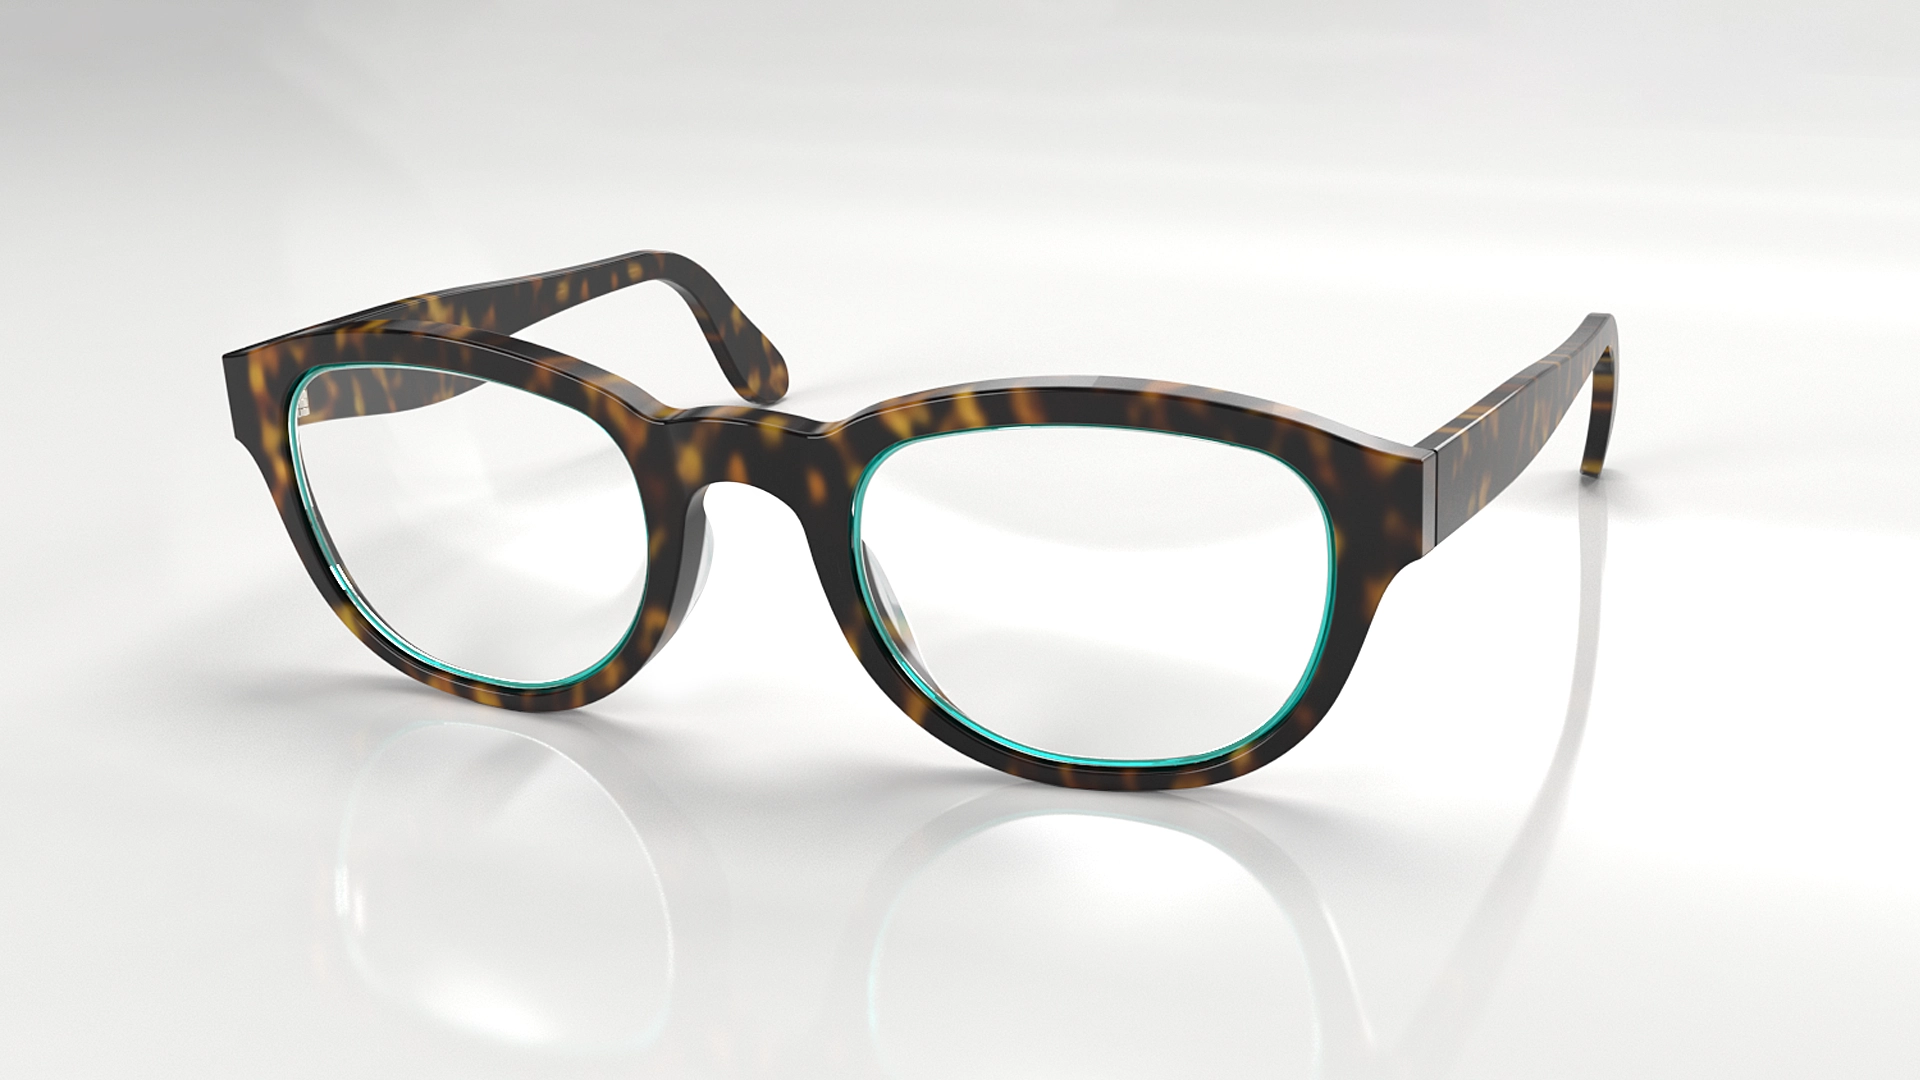
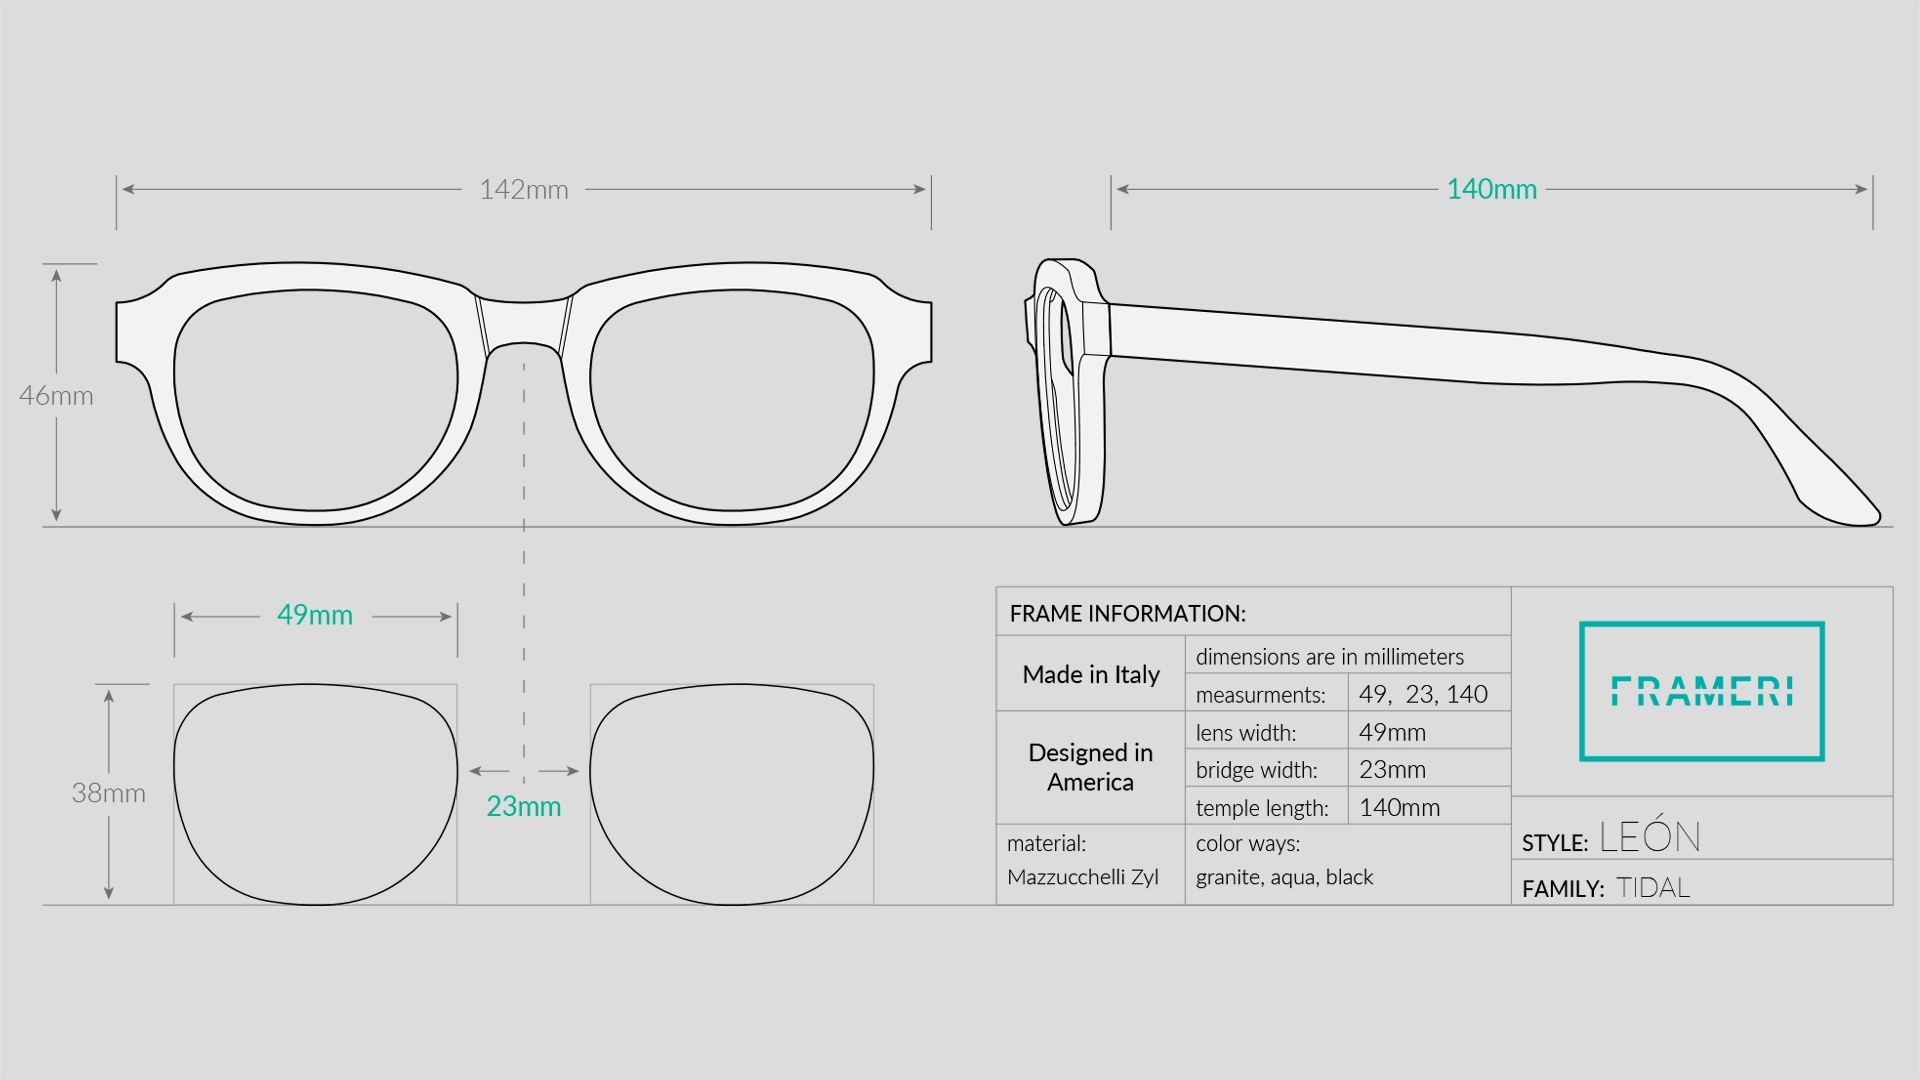
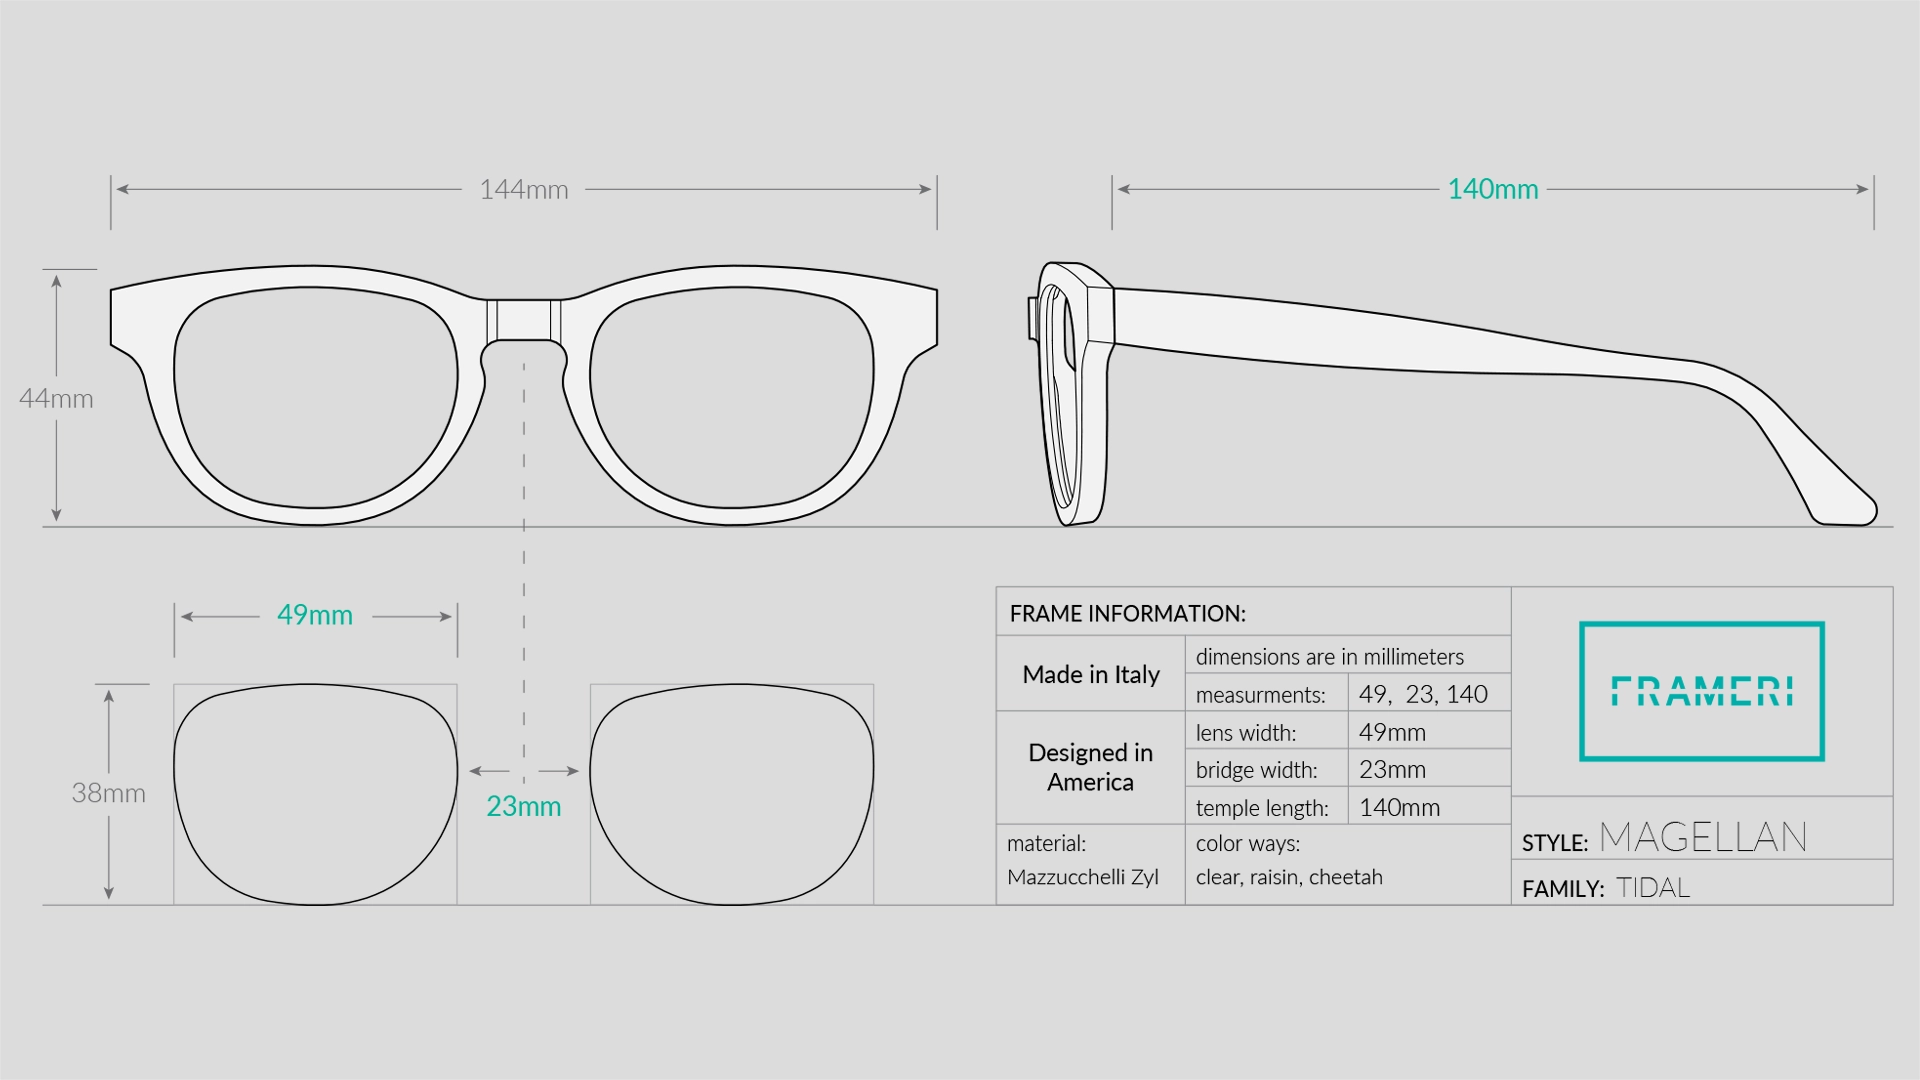
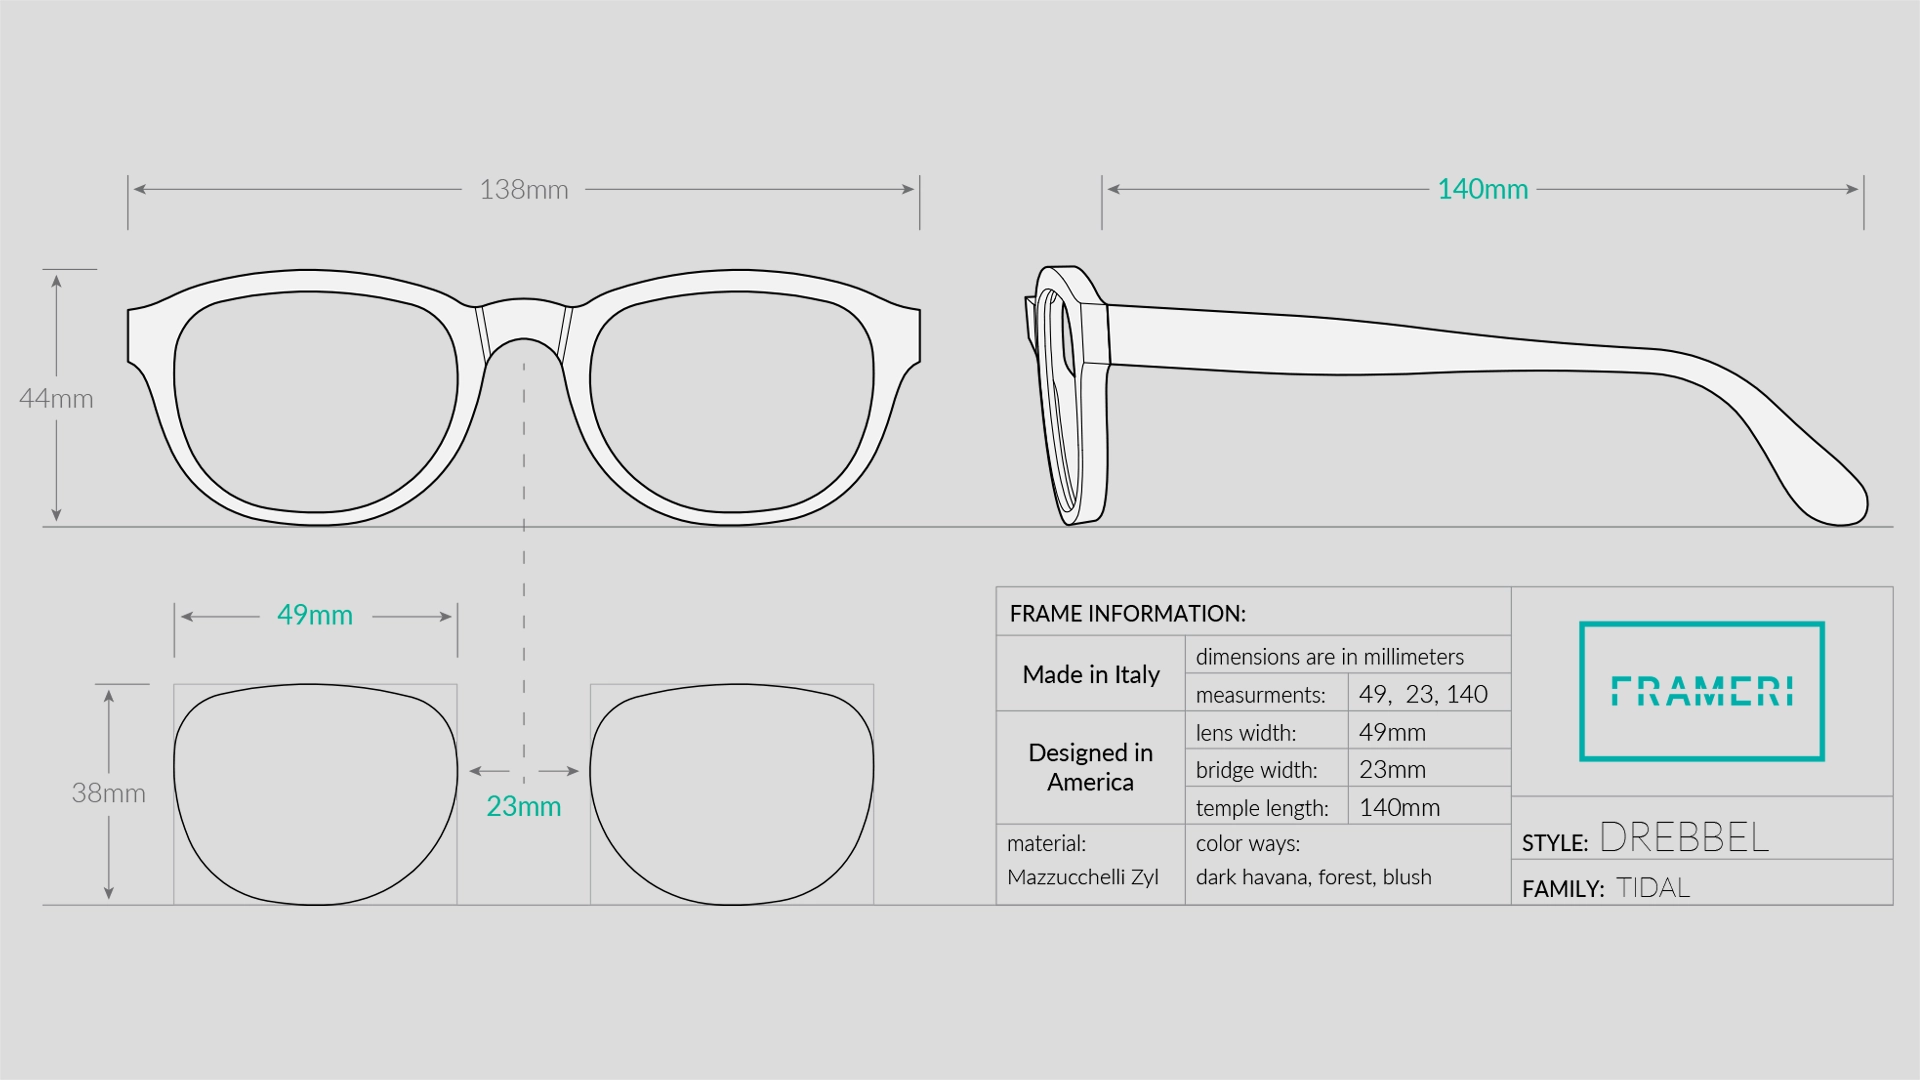
Large projects like this are a team sport. The work here is from my head and hands, but it would not have been possible without Noel and the trust the Frameri team gave us. One of the best things a company can do is trust its designers. The picture above shows the three styles I designed for the Tidal family: Leon, Drebbel, and Magellan (left to right).
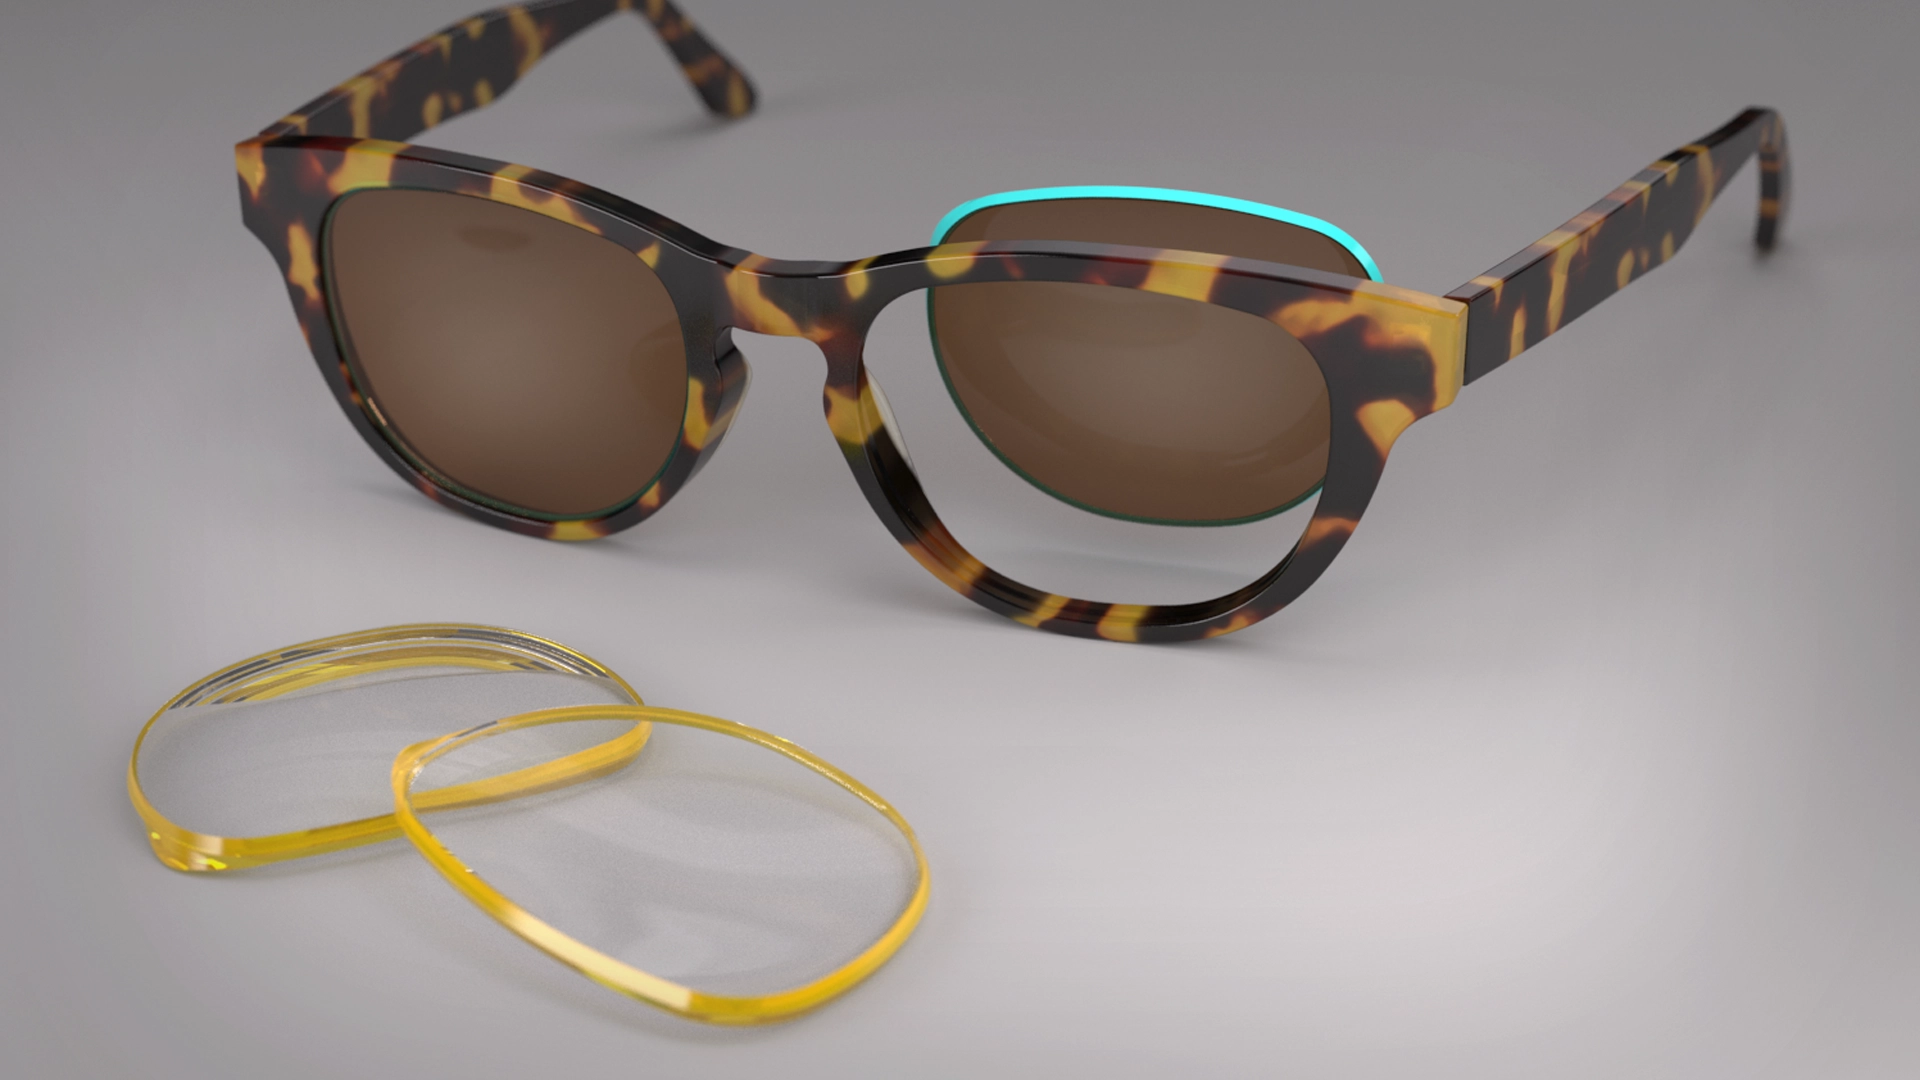
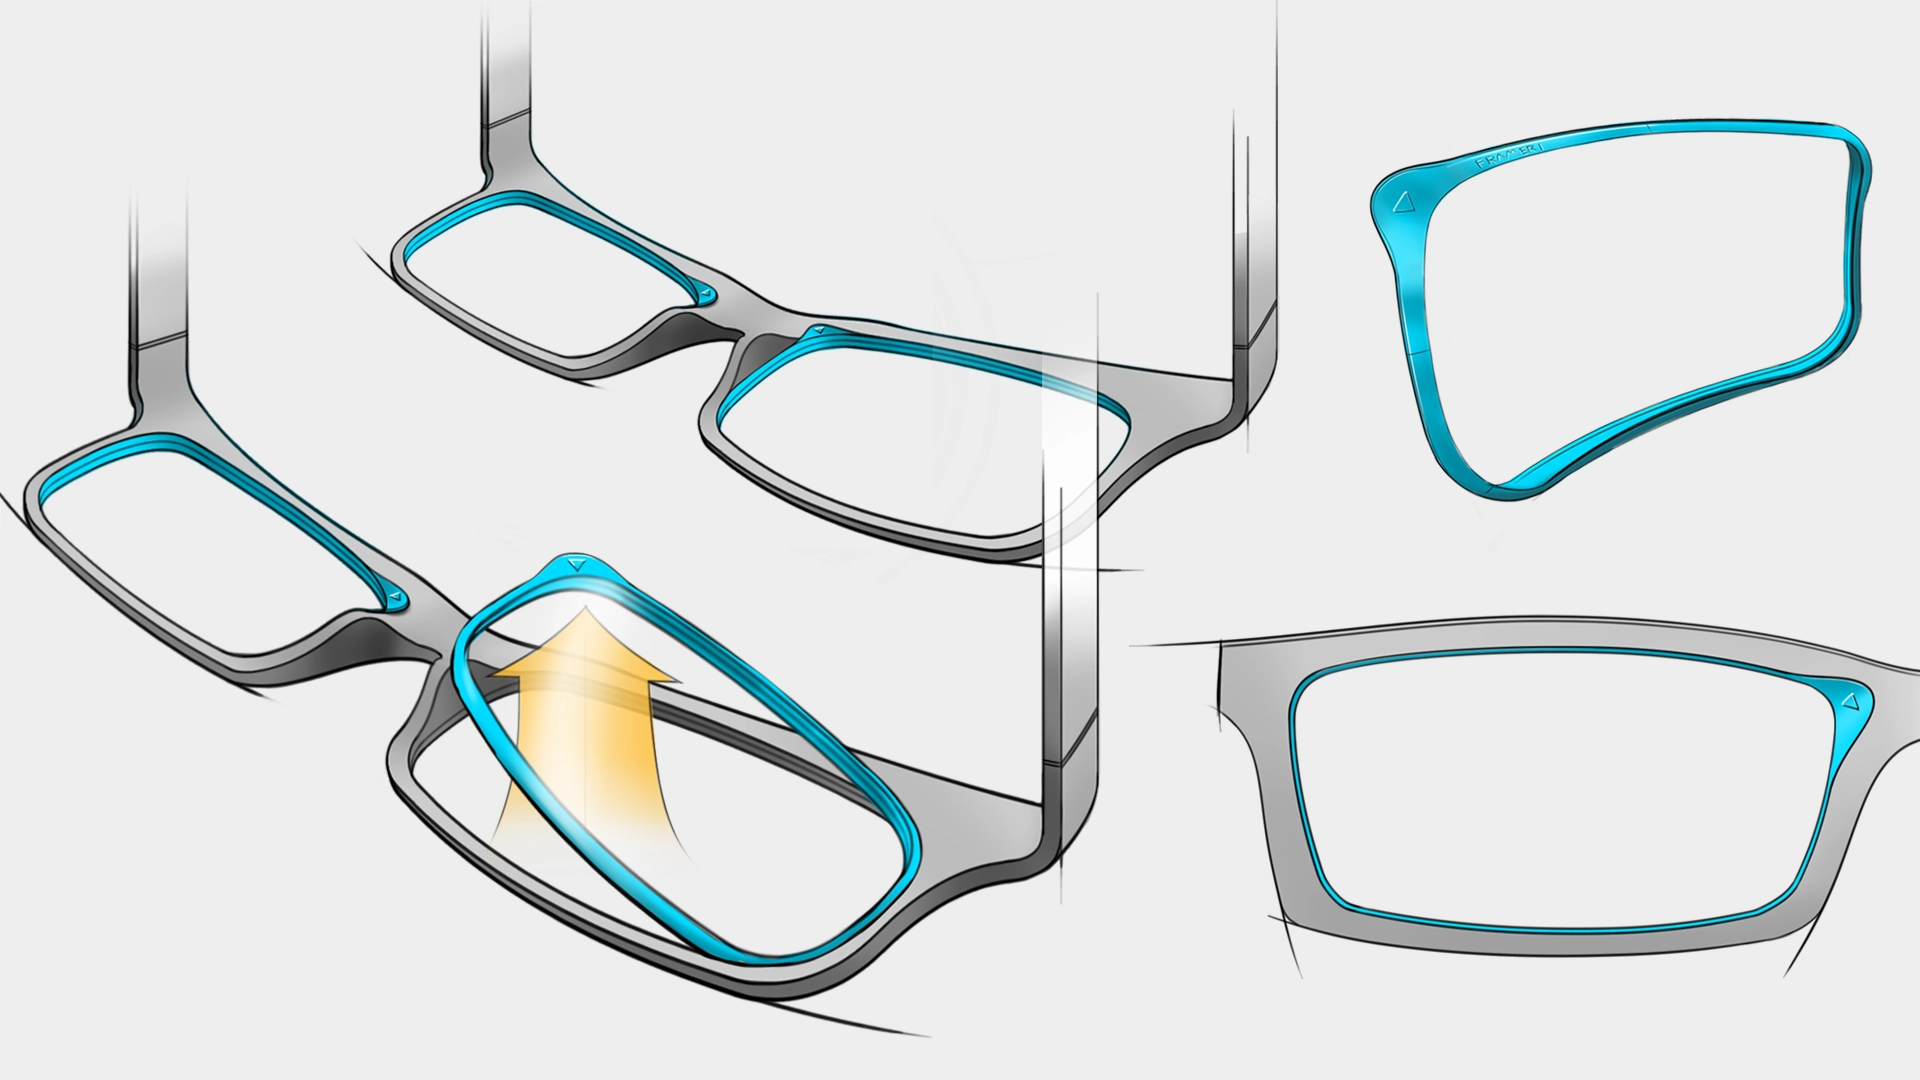
Frameri’s system was built around using one set of lenses in all of your frames. Lenses are expensive. This approach meant you could own multiple pairs of glasses for a fraction of the cost. Below is an early 3D render of several lens styles. The colored rim around the lens was called a “key.” Semantically, it helped the customer orient the lens properly when installing. Functionally, it gave a sense of permission and security to do something people don’t usually do, remove lenses from their glasses. Later “keys” were omitted because of durability concerns. Sometimes this happens in the design process, a good idea cannot be executed to the appropriate finish.
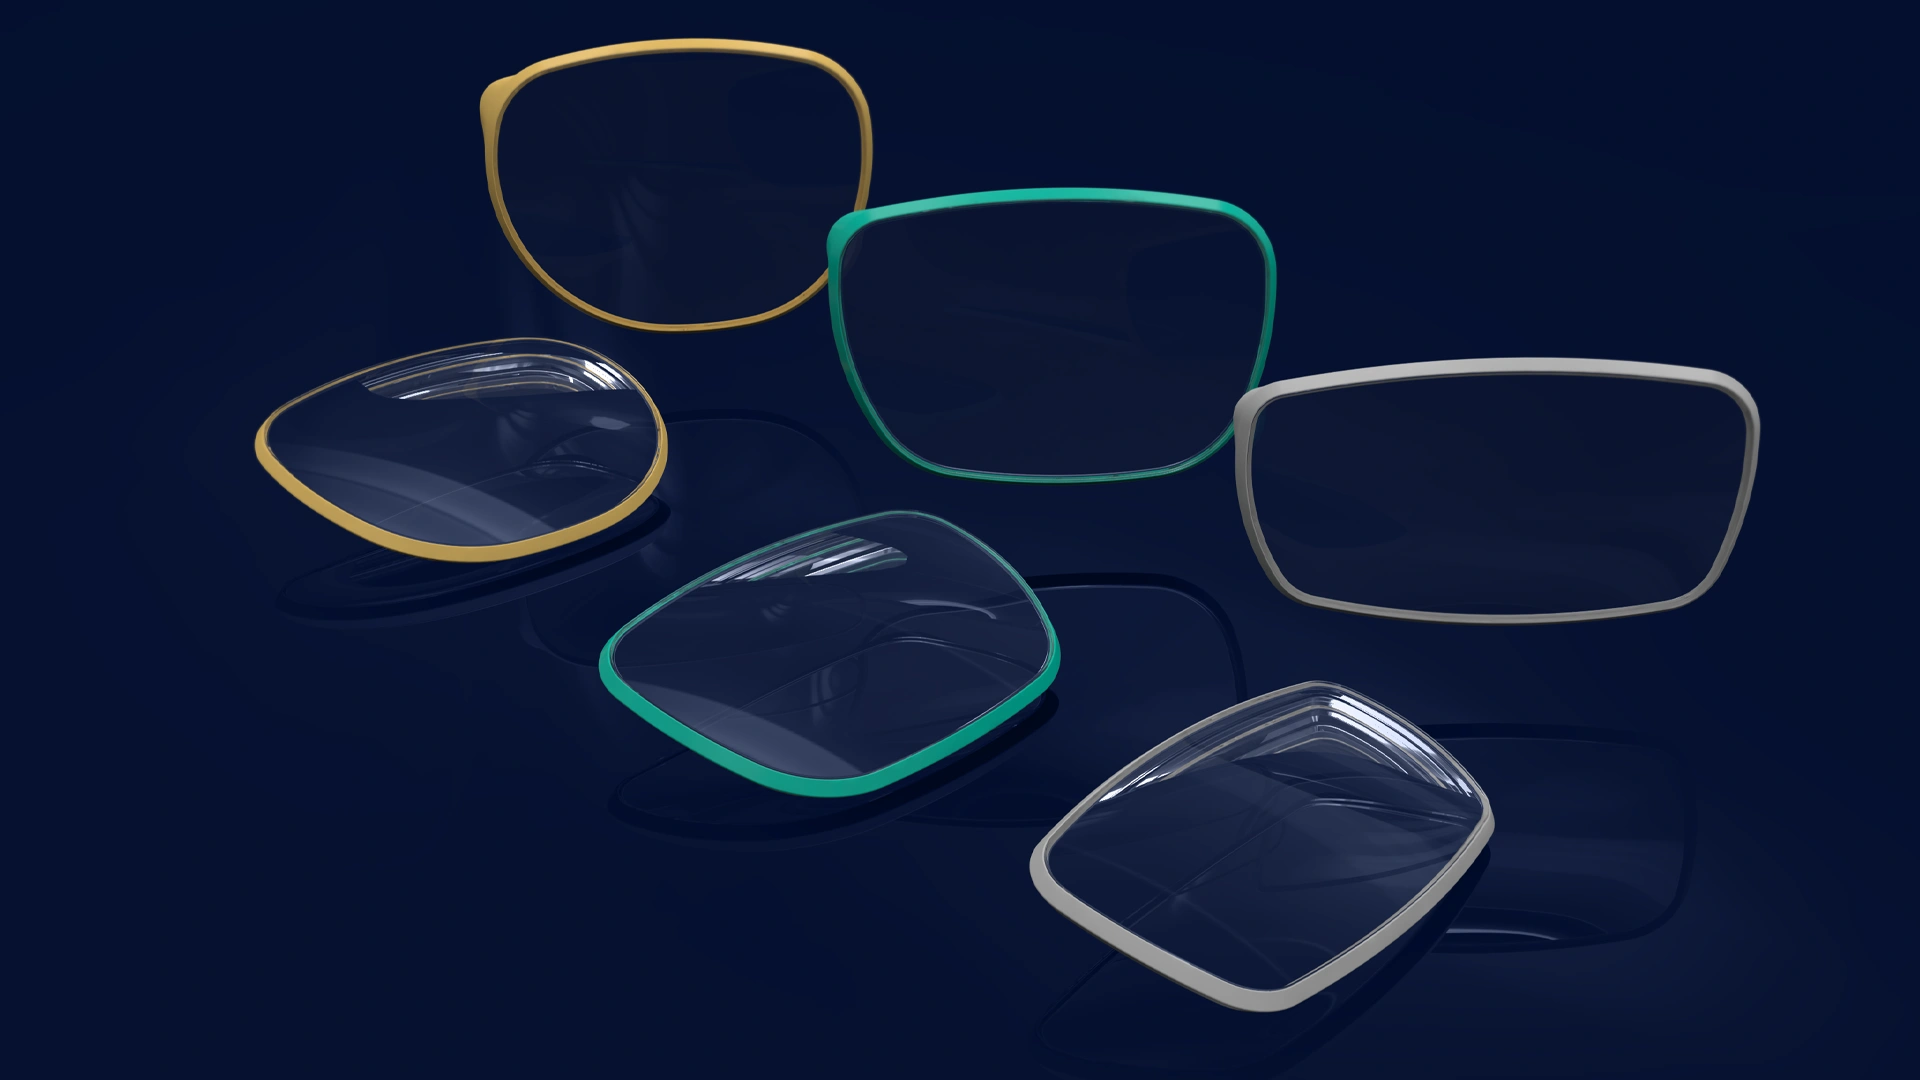
These next three images really show Frameri’s core idea. Each of these frames are very different designs. And they share the same lens! By committing to a ‘family’ of frames, like Tidal (pictured here) you could buy multiple styles or colors, enabling you to change your look every day.
The following 3D renders were used in promotional items. One of Frameri’s big tasks was raising start-up capital. It’s really hard to explain a concept when you don’t have manufactured parts. Photo-realistic renders and 3D prints become great tools for selling and validating concepts.
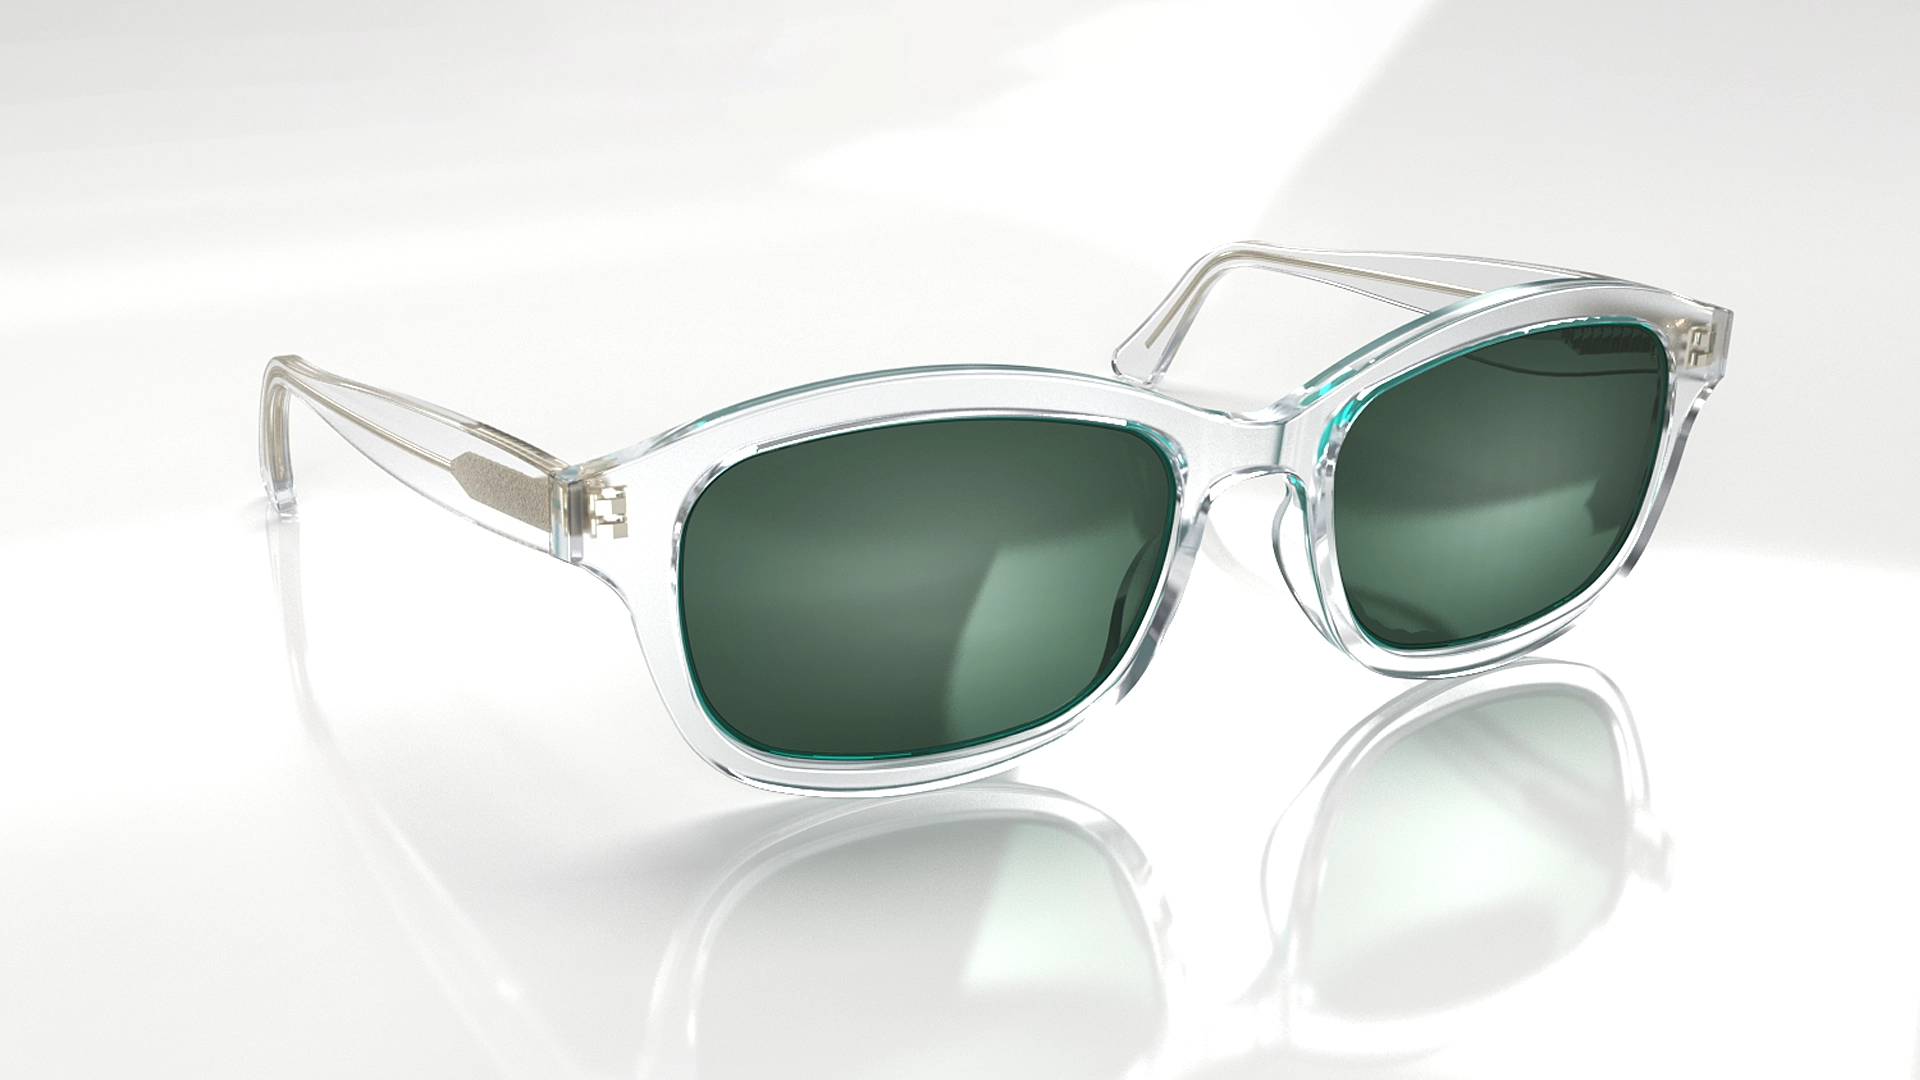
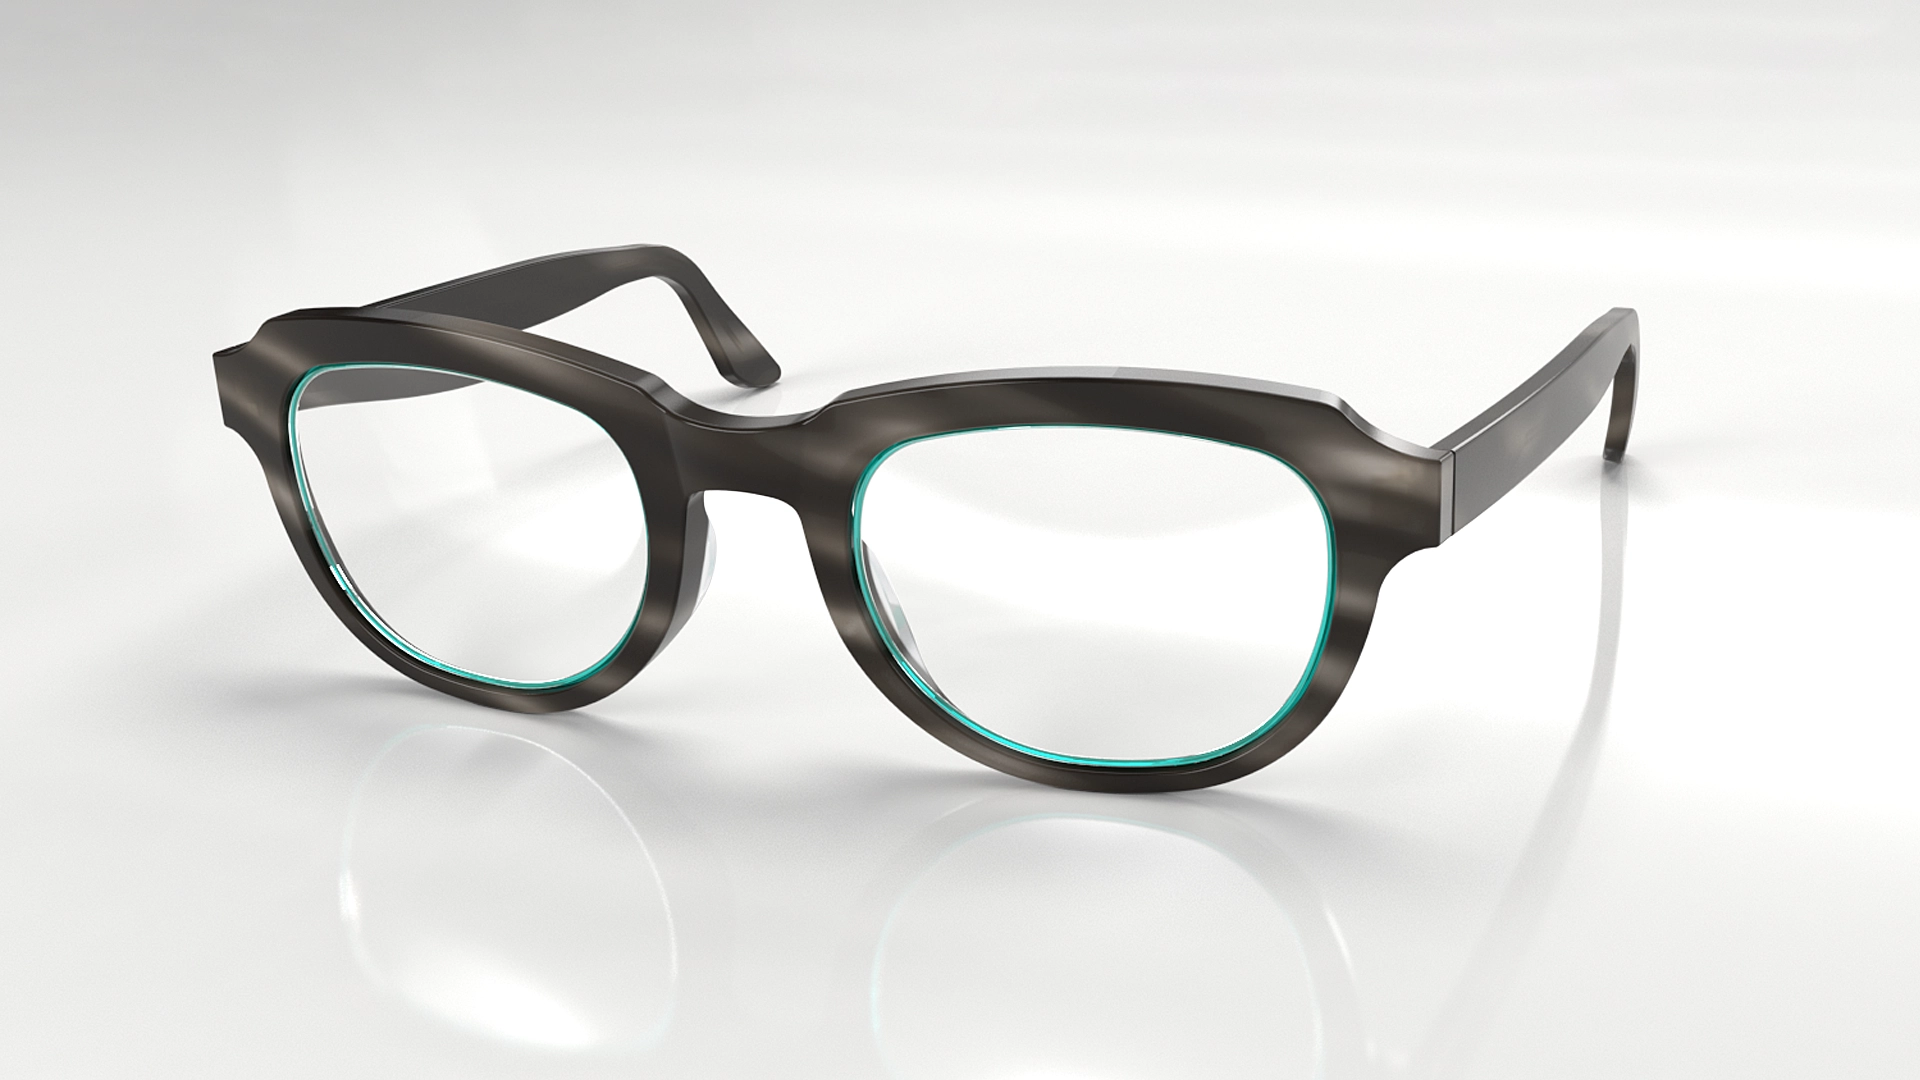
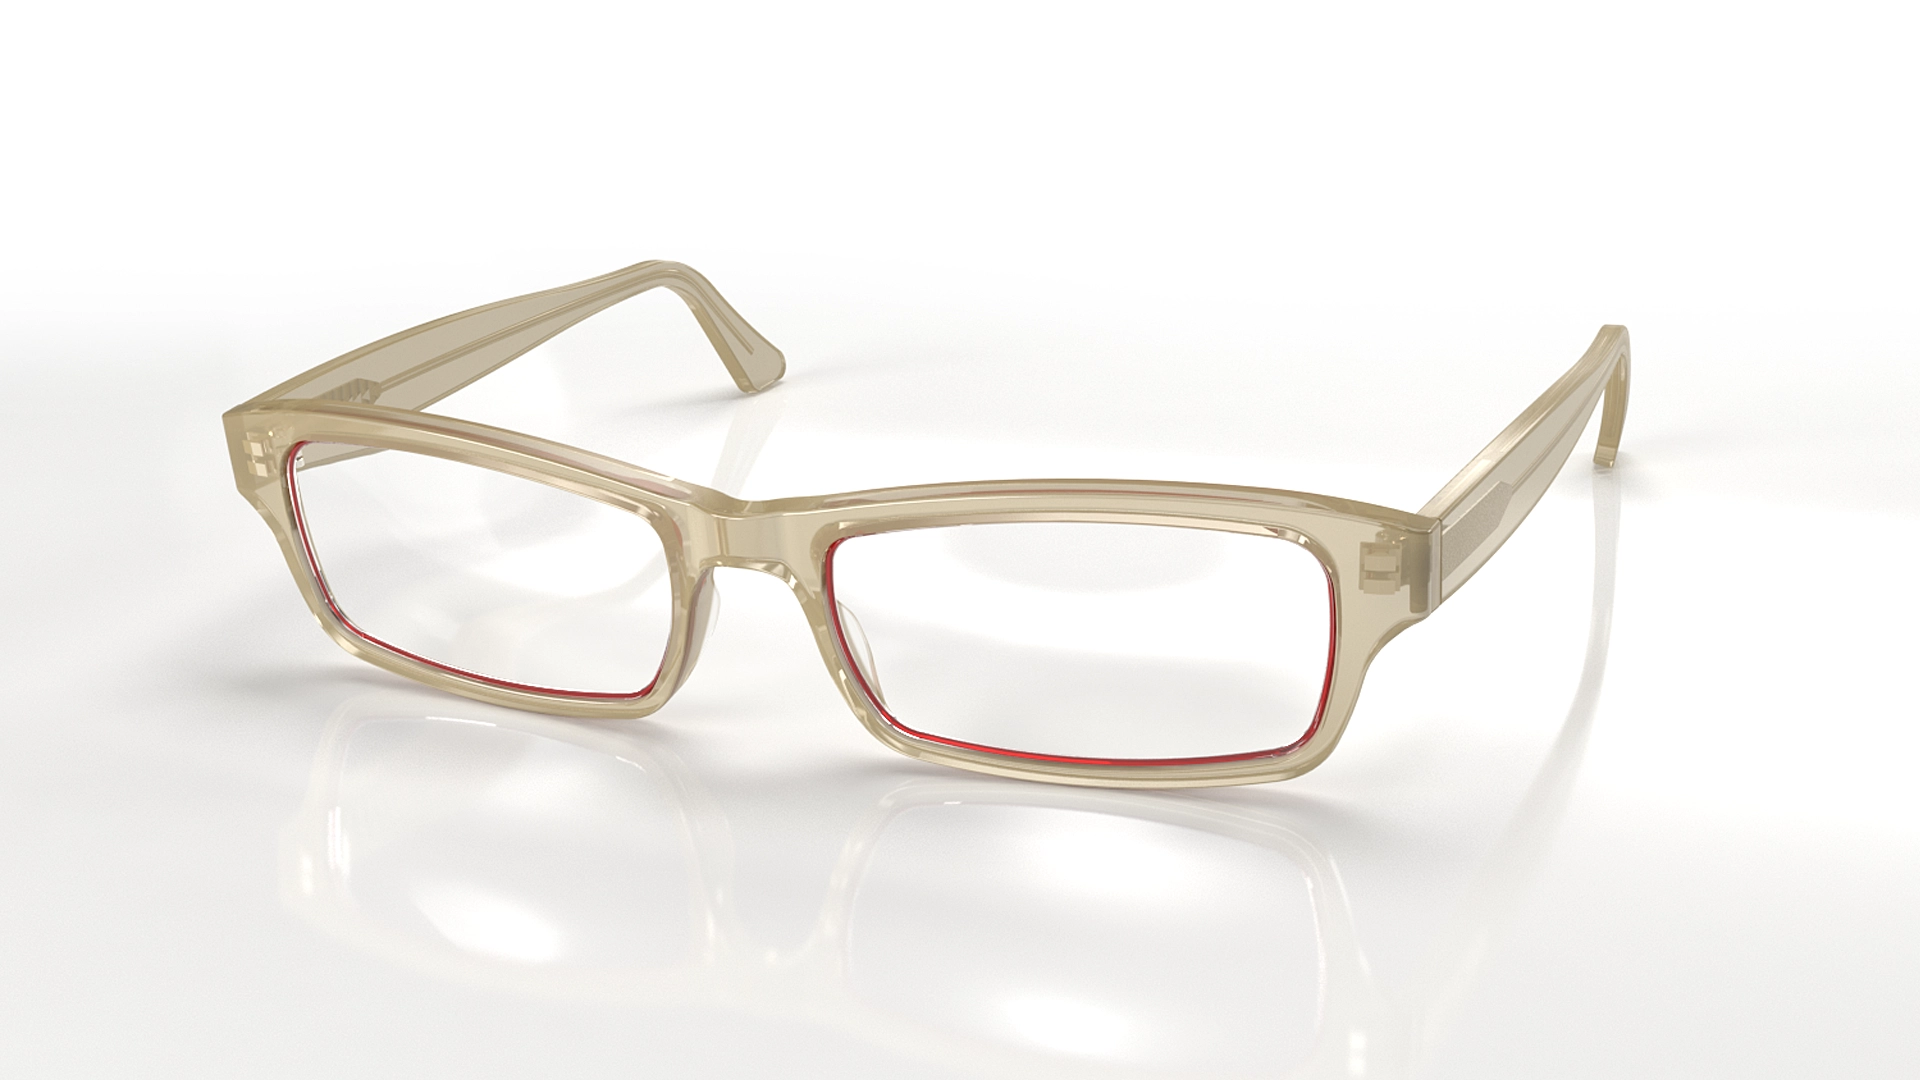
Frameri was an online-first retail brand. Shipping and unboxing was central to the overall brand perception. Packaging was a significant experience to get right. Icons, patterns, and photography were designed and selected for each family. Having the opportunity to design across so many different brand touch-points was really special. It’s part of what makes working with start-ups so exciting. The collateral below was included with every order.
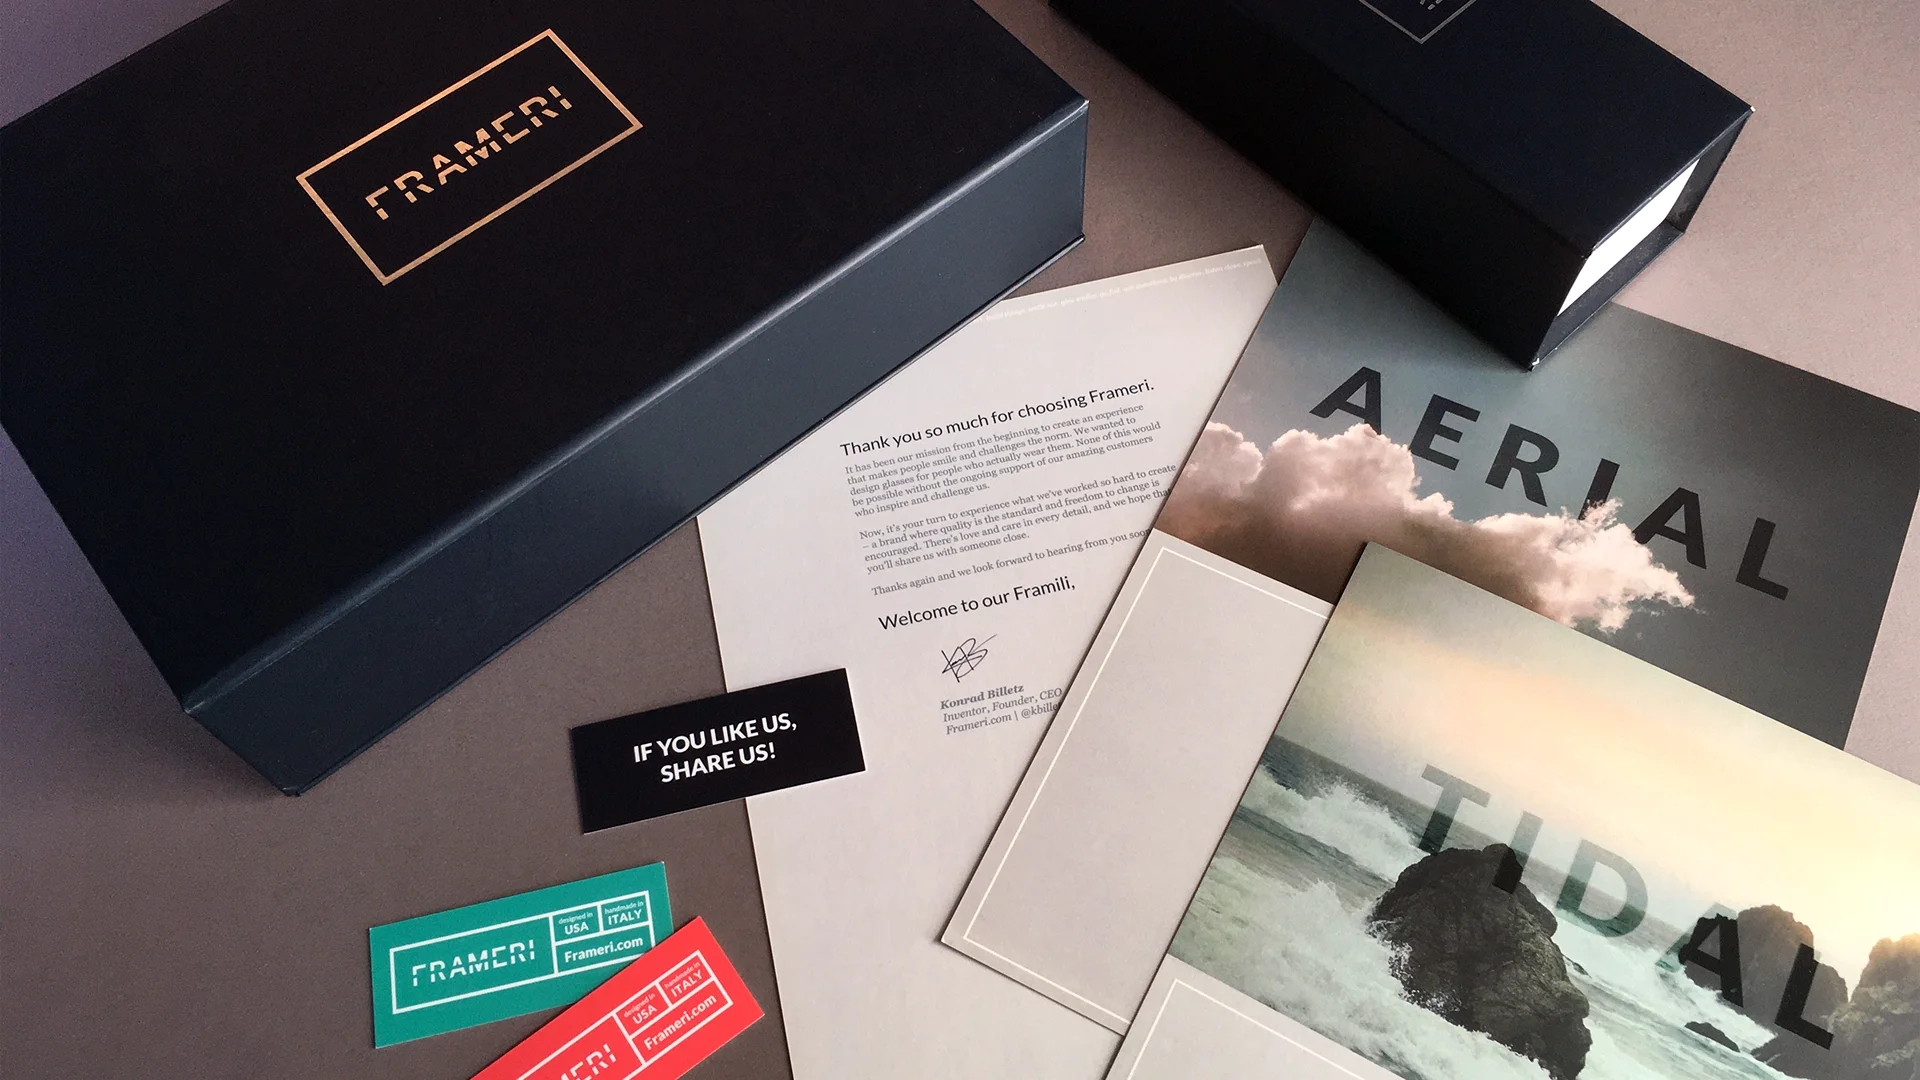
My role on Frameri’s team ended when I relocated to Buffalo, NY. It was a phenomenally fun project and opened the door to learn about a whole new industry. Unfortunately, Frameri closed in January 2018. Start-up life is real and has real difficulties.
Behind the Scenes:
Here’s some behind the scenes goodies! Early on in the history of this project, a couple designers and I explored a bunch of potential solutions for an interchangeable lens. This concept sketch was ultimately the winning direction.
System designs are really interesting because they require a totally different approach. Eyewear designers are typically only concerned with the overall design of the frame. But for us, the lens shape was critical. Our design process started with establishing three lens shapes. They needed to be fairly conservative, unique, and fill territories that typical eyewear customers expect. A lot of this happened with pen and paper but it quickly went into Adobe Illustrator for refinement.

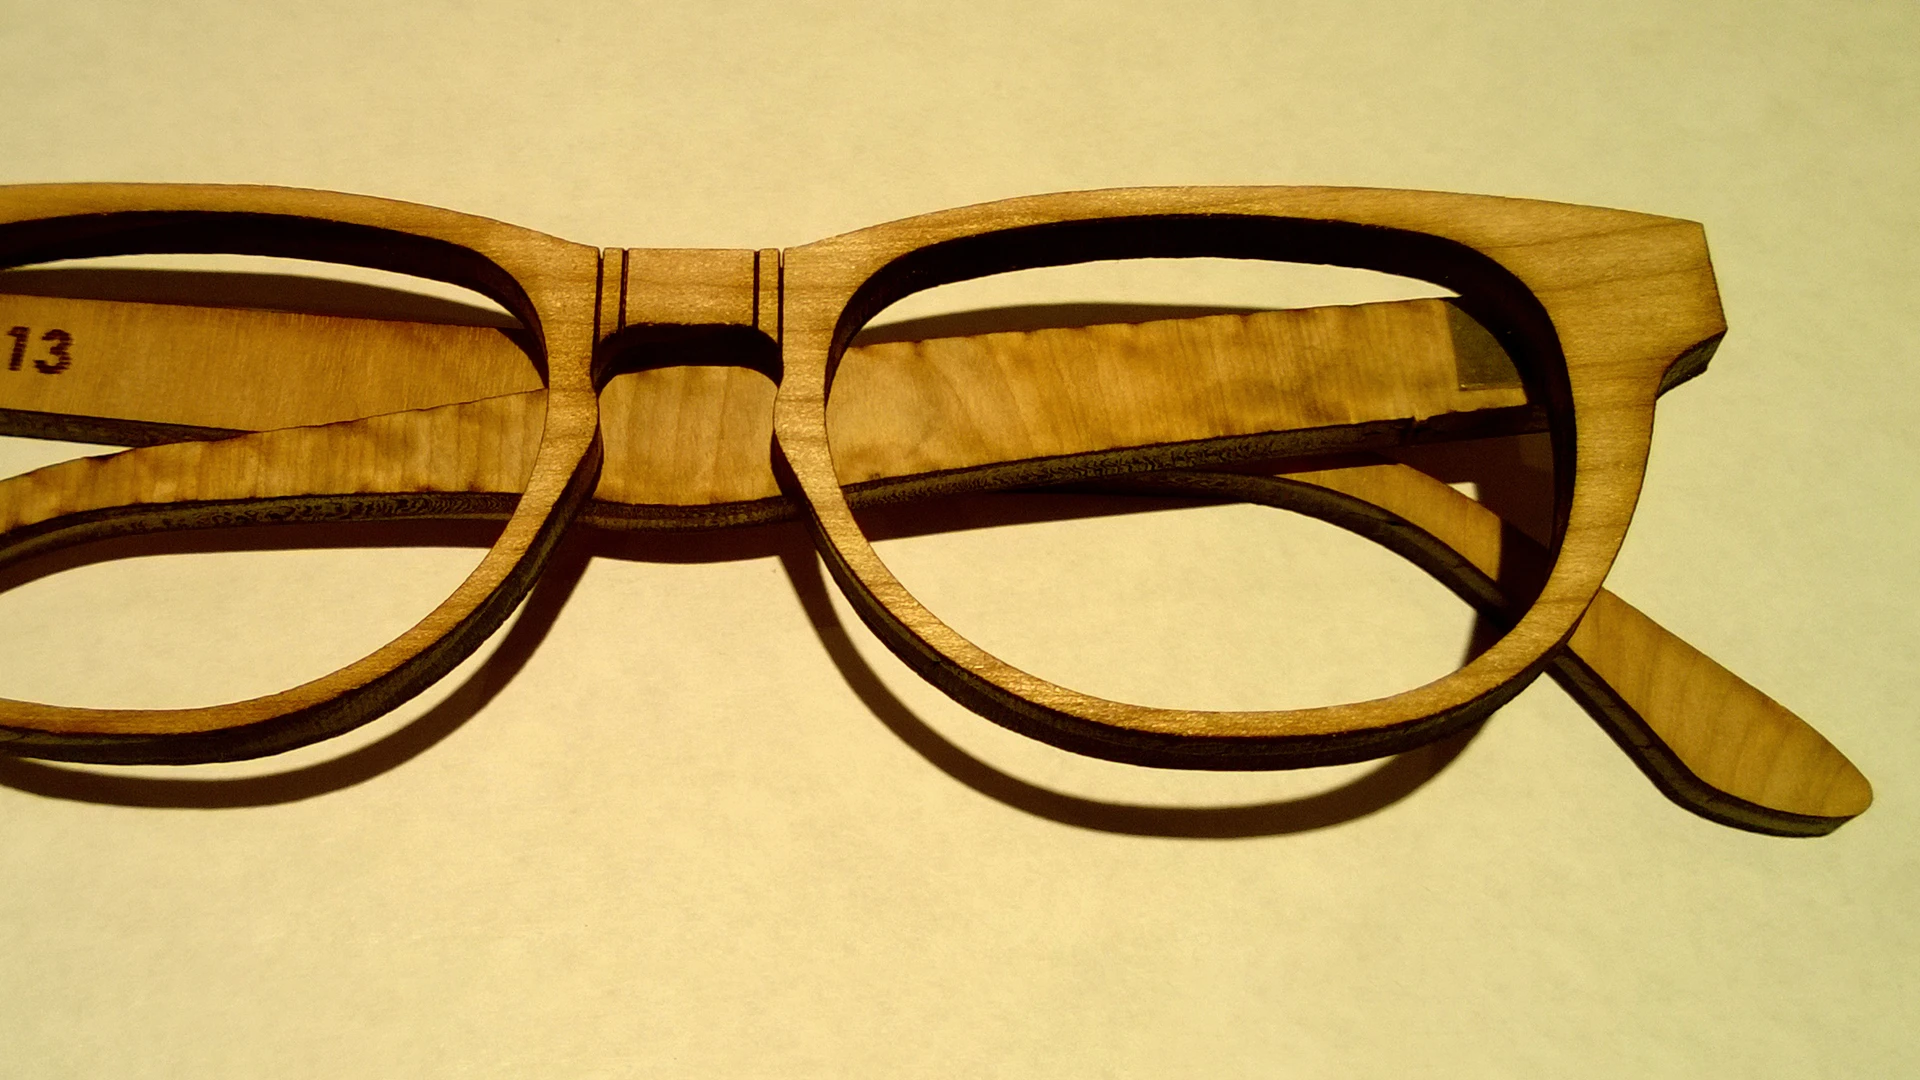
Once we had some designs we liked, we laser cut them out of wood. We taped on temples and wore them. This lo-fi strategy helped us quickly confirm if we really liked the shapes. We also needed to crunch our design timeline. Our Italian manufacturing partner had a portfolio of stock temple designs. We laser cut these then matched them with the fronts that generated the best aesthetic gestalt.
All of the frames were made in Italy following the traditional method. The frame shape is cut out of Zyl (Zylonite or cellulose acetate). Nose pieces are attached and cut down. Then the front is bent to a specific curvature. The nice rounded edges come from being in a tumbler for two weeks (just like a rock tumbler). Afterward, a worker will attach the temples and finish polishing or rounding any corners. Much of this process is by hand and not exactly precise. This presented a challenge since we needed the lens shape to consistently fit across different frames. To solve this problem, I 3D modeled the fronts in the same order of steps that happens in the factory.
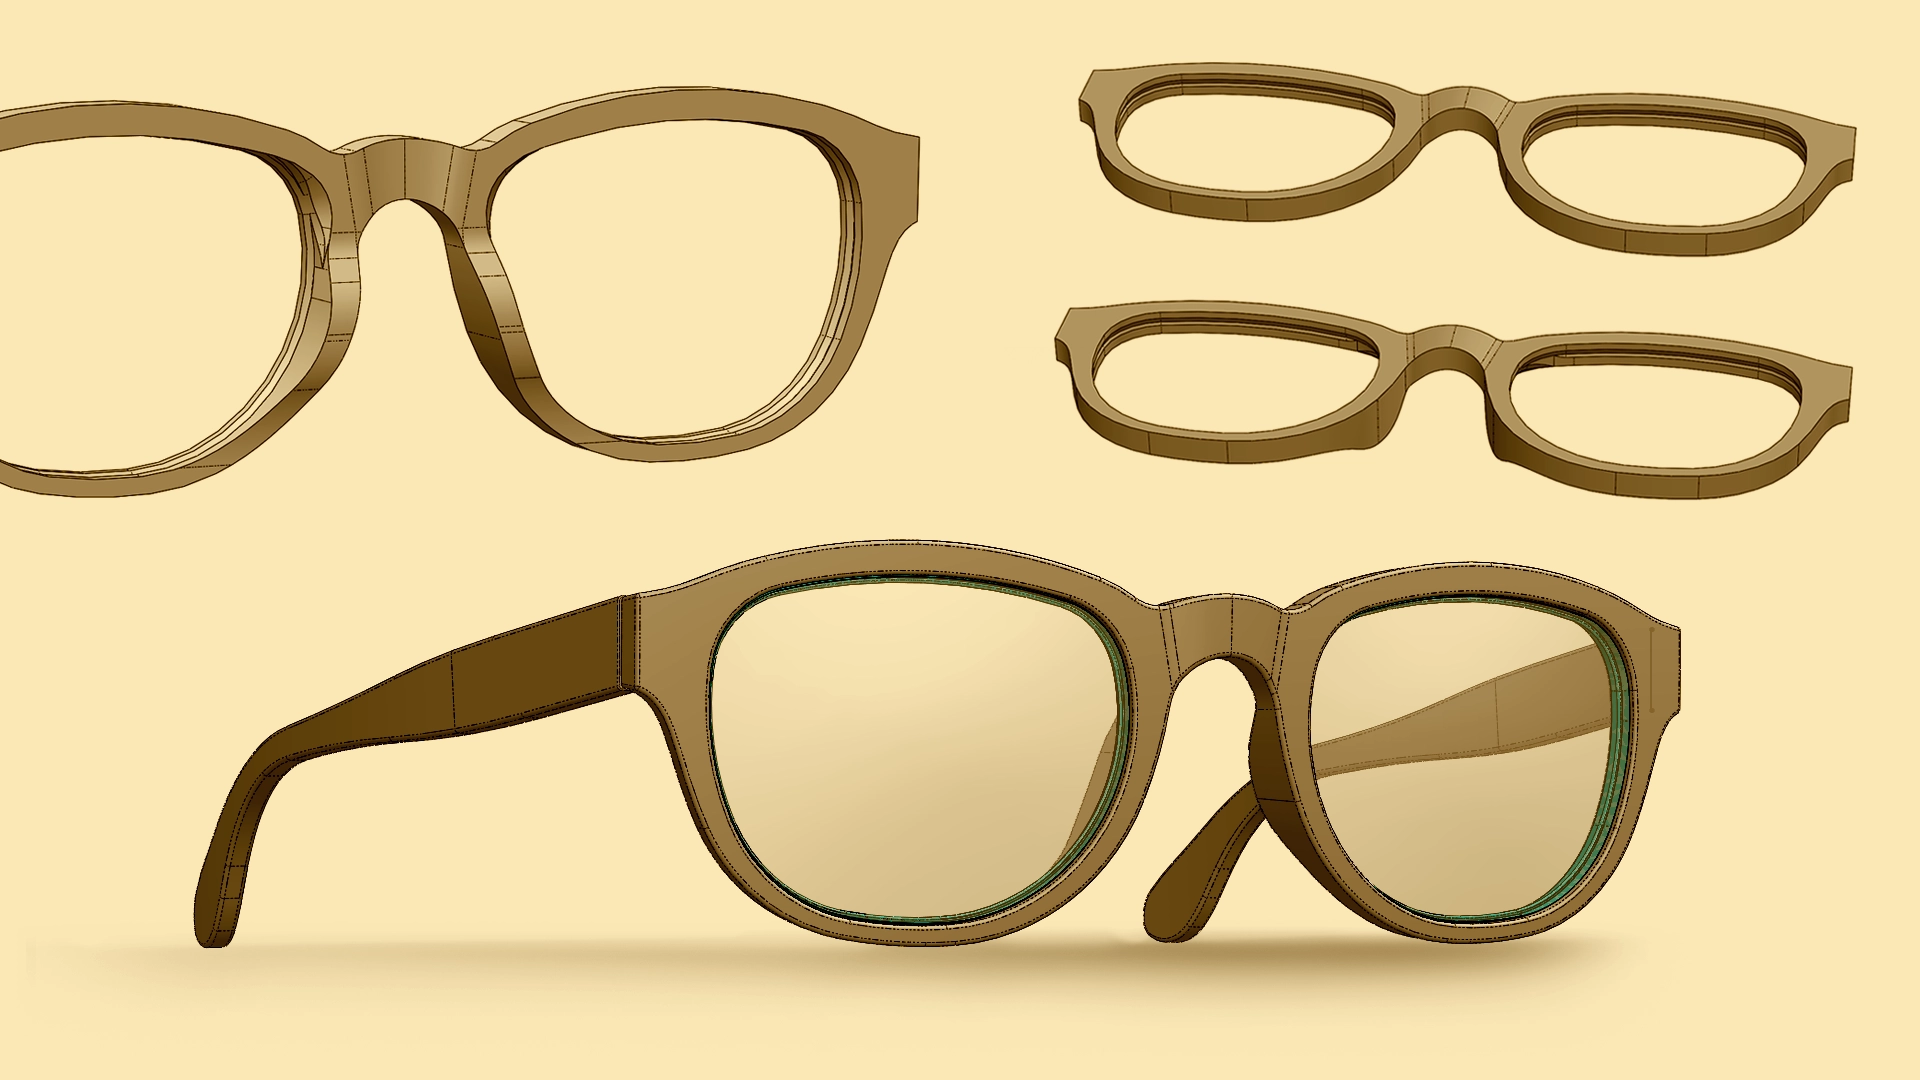
The upper right of this image shows the flat design. Just like in production, the nosepiece was added then the front was bent. The surfaces created here gave us the shapes we needed to fit the lenses. Noel took the inner surfaces of the frame and created the keys, which were ultimately bonded to the lenses. All this 3D data gave us everything we needed to generate drawings for the manufacturer. Adding some fillets (rounds) on the edging prepped it for 3D rendering. The 3D models were exported to 3DS Max where I generated the photo-real images (like the one below).
